
Top 3 Ceiling Lights Questions Answered
Getting the right ceiling light is vitally important to lighting our homes. Choosing the perfect ceilings light can provide so much more than light to a room! When you get it right, it will help elevate and illuminate your design.
At Woo Lighting & Lifestyle, we’re here to help you choose the most suitable ceiling lights. Keep reading our helpful lighting guide featuring the Top 3 Ceiling Lights Questions, to ensure your home is well lit and inviting.

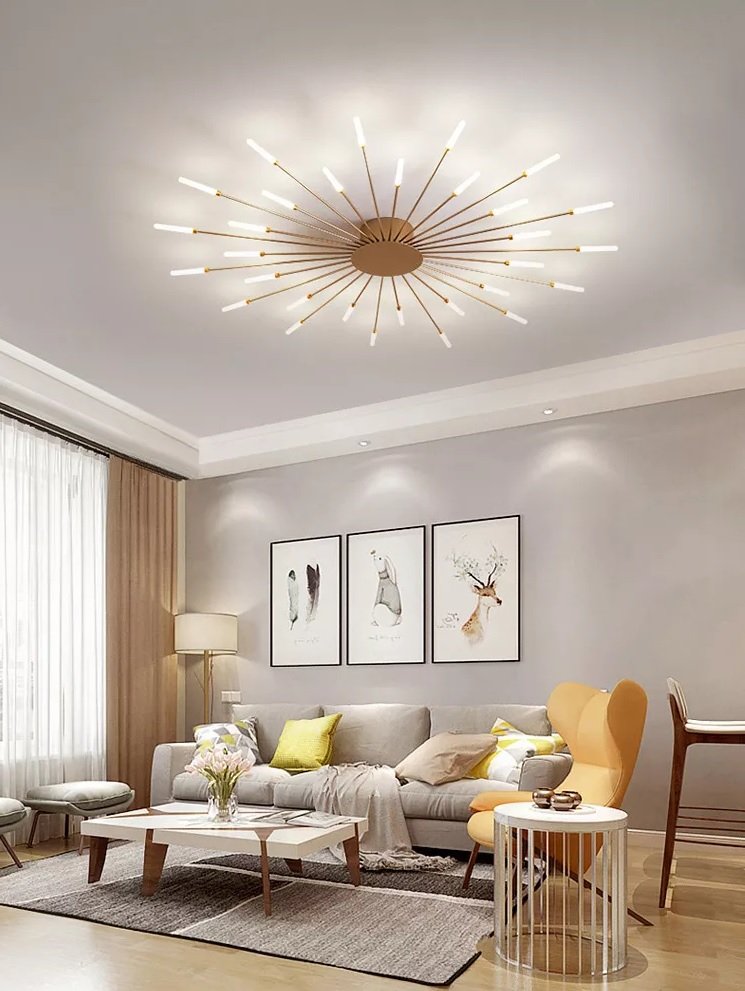
Cascada Ceiling Lamp Linear Flushmount
1- What are the best ceiling lights for my home?
Lighting your home is often as much about creating a mood as it is about functionality. Choose your lighting based on room or by these main types of ceiling lighting.
* Mounted Ceiling Lights
Mounted ceiling lights are placed flush or close to the ceiling itself. Mounted ceiling lights are especially good light fixtures if you have a medium or large room, and can provide ambient light for a whole room. If your room has a low ceiling, this is also a good light fixture to have. Mounted types of ceiling lights are categorized into two varieties, which are flush mounted or semi-flush mounted.
Flush Light Fixtures
Flush light fixtures are basically flat attachments that are mounted to the ceiling. This is a very versatile type of ceiling light fixtures that suit a variety of applications and room sizes. When there is no space between the ceiling and the light fixture, it is called a flush light. Small flush light fixtures will fit into a small space, like a closet or hallway or a small bathroom. The light could be any shape, such as dome, drum, or globe.
Semi-Flush Ceiling Lights
Semi-flush ceiling fixtures are installed with a ceiling canopy and a short stem, so the fixture is suspended from the ceiling. With a gap between the light fixture and the led flush mount ceiling fixture, most styles will shine light upwards as well as down. Semi-flush light fixtures are common in kitchens and small dining rooms, but you can make this style work in other areas.
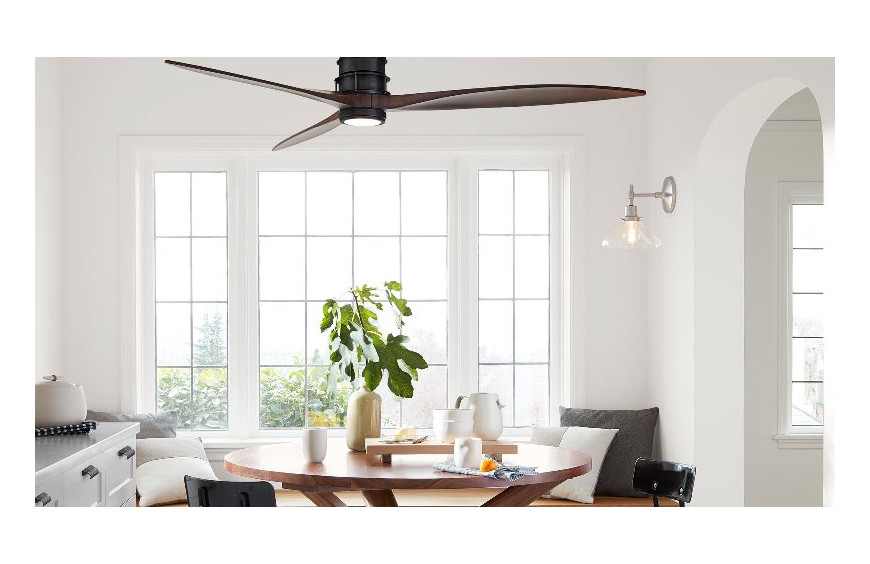
Pinterest.com
* Recessed Lights
Recessed light fixtures — sometimes called recessed can lights or downlights — are flush with the ceiling, making them great for rooms with low ceilings. This type of light fixture is mounted inside of the ceiling and is probably your best choice if you have a room with a low ceiling. The light fixture sits inside of the ceiling and a glass panel diffuses the light inside of the room. There is trim around the glass panel and the result is very discreet. This type of ceiling light works best for ambient or task lighting.
* Indirect Ceiling Light Fixture
An indirect ceiling light fixture differs from other kinds of ceiling lights because it is not intended to light the room below it. Instead, the light is hidden and the purpose of the fixture is to reflect light from the ceiling. This allows for illumination without the glare of a bulb or single intense source of light. Often seen in large rooms with low ceilings, one common design is a sheet of frosted glass over fluorescent bulbs.
* Ceiling Strip Lights
Strips of LED lights are inexpensive and easily sourced through online retailers. They are also easy to install and often come with a sticky backing. They are incredibly lightweight and power efficient. Colored or color changing LED strips can be used to create an atmosphere that matches the purpose of the room or your intended activity. However, Strip LED lights are not intended to be used as a primary light source, but rather as an accent or enhancement.
* Indirect LED Lighting
LED indirect lighting is the same as "Ceiling Strip Lights" and is achieved by installing strips of LED lights on a room’s ceiling. This is a fun and creative lighting style if you are going for a modern room design. If you have a small room and you want it to look bigger, this is a good type of light fixture to use. The ceiling will reflect the light of the LED strips making it look like the ceiling is higher.
* Drop Ceiling Lights
A drop or dropped ceiling is very common in modified industrial spaces. It is installed a few inches to several feet below the actual, structural ceiling. The space between the dropped ceiling and the true ceiling encompasses the guts of the building, such as ductwork and electrical cables. Often, drop ceilings consist of individually removable panels, making it easier to maintain or repair the inner workings they conceal.
* Hanging Ceiling Lights
Hanging ceiling lights are light fixtures designed to hang down from your ceiling and are more adapted for task and ambient lighting. A hanging ceiling light is attached to the ceiling by a cord or chain, unlike flush and semi-flush lights, which are connected by a hollow, rigid rod. The most common use of hanging ceiling lights as task lighting is over dining tables. Its purpose is to create a pool of light for a specific activity, in this case, sharing a meal.
athomeinlove.com
2- How to Replace a Light Fixture With a Ceiling Fan?
A ceiling fan is a great way to make any room more comfortable. It can also help reduce your home’s heating and cooling costs. To replace a light fixture with a fan, all you’ll need is about two hours and some basic supplies. To replace a light fixture, be sure to equip yourself with the proper safety gear. Here’s what you’ll need for this intermediate-level project:
* Tools:
Circuit Tester, Ladder, Screwdriver, Flat Head Screwdriver, Wire Cutter, Wire Stripper, Tongue & Groove Pliers, Mini Hacksaw
* Materials:
Electrical Tape, Ceiling Fan, Cable Clamp Connectors, Electrical Box – Fan Rated, And/or Fan Hanger Kit
STEP 1
Turn off circuit. Start by turning off the breaker connected to the circuit you’ll be working on. Confirm the power is off by switching on the fixture. If it doesn’t turn on, you’re ready to begin.
STEP 2
Remove old fixture. Remove the glass cover and light bulbs from your old fixture. Fixtures are typically held in place with screws and a mounting strap. Loosen the screws, twist the base and then pull the base over the hole. Test each wire with a non-contact circuit tester to avoid dangerous shocks.
STEP 3
Disconnect old fixture and strap. Cut any wires connected to the old fixture and, if necessary, remove the mounting strap. Remove the wire nuts, untwist the wires, and disconnect the ground wire from the fixture box with a screwdriver. You’ll be left with a white wire, a black wire, and a bare wire.
STEP 4
Remove old fixture box. Conventional light fixture boxes aren’t strong enough to support a fan, so you’ll need to replace it with one that’s fan rated. If your current fixture box is screwed to a ceiling joist, simply remove the screws. If it’s nailed to a joist accessible from an attic, use a hammer or pry bar to remove the box and nails. If your fixture box is hanging from a strap, remove the nut or screw holding it in place. You may need to use a mini hacksaw to remove the strap to make room for the new electrical box.
STEP 5
Install brace. Your fan-rated box will need to be supported by ceiling joists. If you have an attic that enables access from above, you can use a box that attaches to the joist. Without attic access, you’ll need a fan brace that can be installed from below. Fan braces are typically sold as a kit that includes a brace, box and bracket or U-bolt. Slip the brace into the ceiling hole with its feet on the inside of the drywall and its bar centered over the hole. Twist the bar until both ends meet the joists, then tighten with tongue and groove pliers.
STEP 6
Prep new box. Preparing your new fixture box before you install it will make installation much easier. Start by punching out holes for your wires, then install cable connectors, making sure you’ll be able to access the screws if you need to make adjustments. Screw the green grounding screw into the designated hole.
STEP 7
Install box. Slip the U-bolt or bracket over the brace, then feed the wires through the cable connectors. Line up the bracket and box screw holes, then secure the nuts provided in your kit. This may take a little patience.
lanoralighting.com
STEP 8
Install fan mounting bracket. This installation features a pass-through, with light switches on each side of the room and two sets of wires. You’ll need to prep these wires before installing the mounting bracket. To do this, screw the ground wire into the box, using the extra wire to twist both ground wires together. If necessary, use wire strippers to remove about three-eighths of an inch of insulation from each wire. Twist the black wires together and secure with a wire connector. These wires are a pass-through. You won’t need them when installing the fan. Twist the white wires together, then attach the mounting bracket to the fan box using the screws included in your kit.
STEP 9
Assemble and attach blades. Each blade typically features three holes to attach it to the fan or blade irons. Attachment methods vary, so be sure to check manufacturer instructions before you begin. Attach each blade to the bottom of the motor with the screws provided, making sure each is tight.
STEP 10
Secure down rod to motor. Secure the down rod to the motor. In most cases, the down rod will be threaded into the motor housing and secured with one or more setscrews.
STEP 11
Prepare wires and hang fan. Place the canopy over the down rod, leaving it loose. Then hang the motor by inserting the ball on the down rod into the bracket.
STEP 12
Wire the fan. The fan motor’s grounding wire is typically green, bare or sometimes covered in a color noted by the manufacturer. There may also be a grounding wire attached to the hanger. Use a wire connector to secure them to the ground wire from the power cable. Connect the white wire from the box to the white fan wire and the black wire from the box to the black fan wire. Secure the canopy against the ceiling with screws provided.
STEP 13
Assemble the light fixture. Attach the fixture according to the manufacturer’s instructions and install light bulbs. Turn on the power at the breaker box and enjoy the cool breeze coming from your new fan!
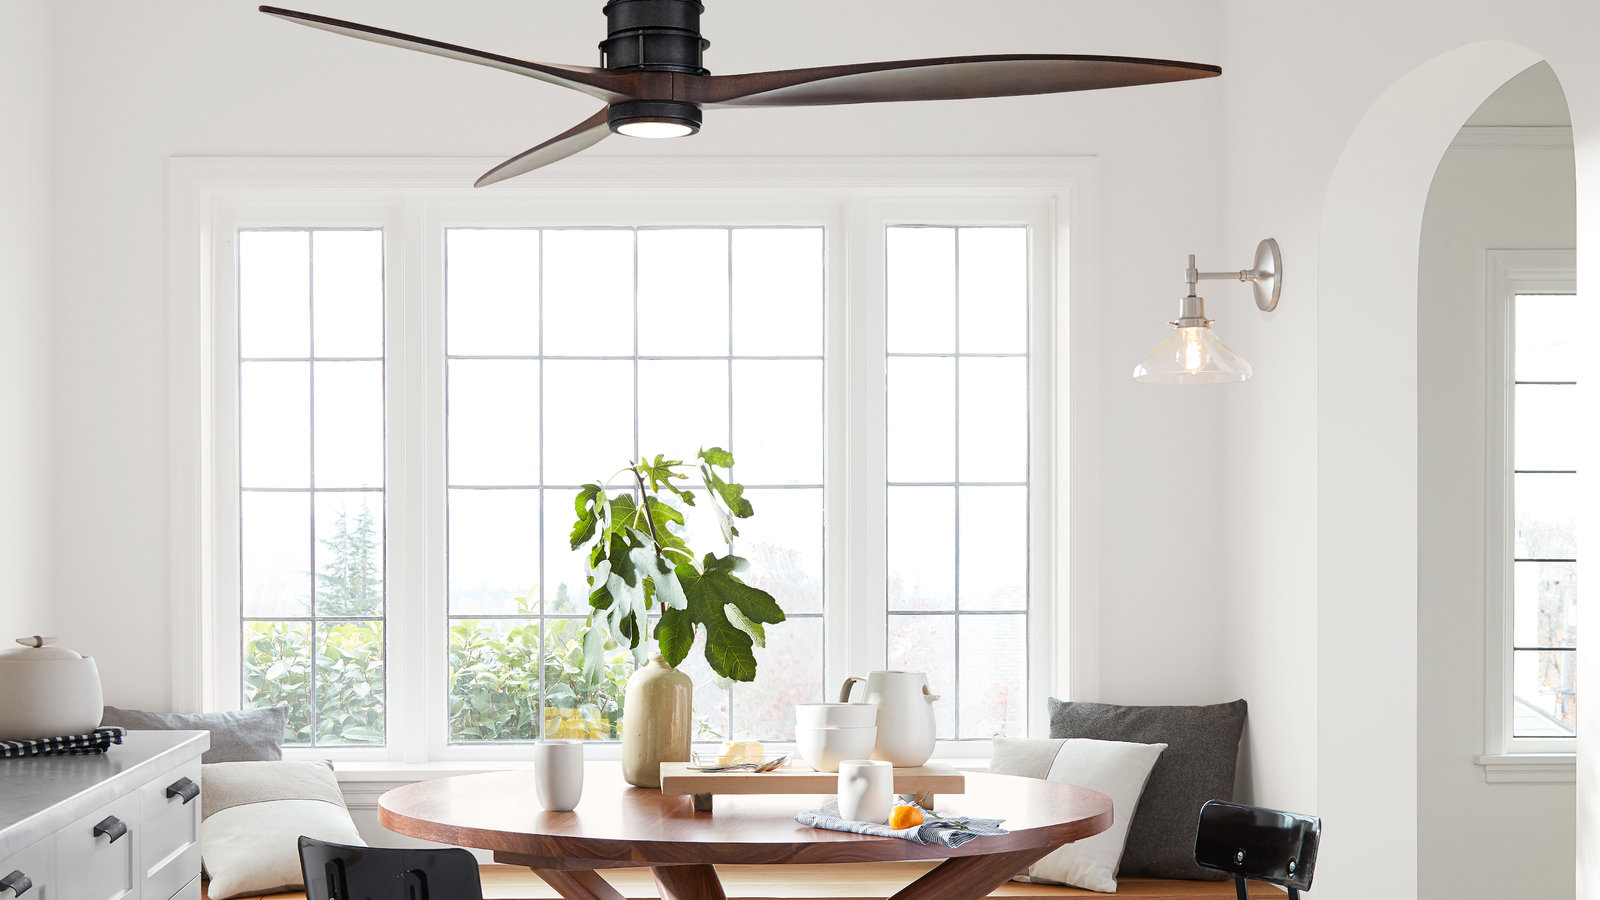
Pinterest.com
3- How easy is it to install a LED downlight in a concrete ceiling?
With the right lighting, a minimalist home can be transformed into a sleek, modern showcase. Lighting can be installed in a discreet manner that adds depth and dimension to any room without drawing the eye away from the overall design of the space.
Most ceilings are easy to access and transform. You will need to determine whether or not you have a concrete ceiling. In a concrete ceiling, installing a LED downlight might be a challenge as it is very hard, cracks and chips easily and you have to work over your head. This causes a significant amount of physical fatigue and stress on your body.
The ideal thing to do is to have gypsum false ceiling of about 6 inches, into which the lights can be recessed. This will also makes alterations to the positions of the light as well as adding more lights is very easy. Luckily, this option will help ease the burden and make this job a lot more friendly on your body and your time.
Pinterest.com
The right ceiling light should match the size of the room, provide you with the kind of lighting you need and complement the other design elements. Visit woo-lighting.com and choose from numerous types and styles to suit your lighting needs and decor.